
A loose patch poses a risk to both the longevity of the patch and the appearance of your clothing, making it more than just a small irritation. A lifting edge might snag, gather lint, and finally tear off entirely, whether it’s a tactical PVC patch on a gear bag or a custom embroidered piece on a denim jacket.
The good news? Ripping off the patch and starting over is not necessary. In order to keep your patches looking as good as the day they were applied, this thorough tutorial examines professional-grade techniques for securing them in place.
Recognizing the Reasons Behind Loose Patches
It is crucial to comprehend the reasons for the bond’s failure before attempting any remedies. Selecting the appropriate repair technique is aided by determining the reason.
- Adhesive Failure: Heat-activated copolymer adhesive is used in the majority of iron-on patches. The bond is still weak if the first heat was not delivered for a sufficient amount of time or at a high enough temperature.
- Fabric Incompatibility: Adhesives are repelled by coatings on some synthetic materials, such as nylon or waterproof polyesters.
- High-Stress Areas: Patches applied on bags, elbows, or knees that flex frequently experience mechanical stress that tugs at the edges.
Inadequate Aftercare: Over time, the glue may be removed by harsh detergents or high-heat dryers.
Method 1: The First Line of Defense: The “Re-Activation” Heat Press
There might still be enough adhesive residue to form a fresh bond if the patch was initially iron-on and has only recently begun to loosen.
Tools Required:
- Heat press or home iron
- A thin pressing cloth or parchment paper
Procedure:
- Clean the Area: Clear the area beneath the lifting edge of any debris with a lint roller.
- Adjust the Temperature: Select the “Cotton” setting on your iron, which is often approximately 350°F/175°C. Make sure the steam setting is turned off.
- Position and Protect: Set the clothing down on a hard, level surface. To prevent the PVC or embroidery threads from melting, cover the patch with parchment paper.
- Apply Targeted Pressure: For 20 to 30 seconds, firmly press down on the loose edge with the iron’s tip rather than ironing the entire patch.
- Flip and Repeat: If at all feasible, flip the clothing inside out, then heat the back of the material right behind the loose edge.
- The Cooling Rule: This is the most crucial phase. Wait until the garment has totally cooled before moving it. For a permanent bond to be formed, the adhesive must harden.
Method 2: The No-Sew Expert’s Precision Fabric Adhesives
A high-quality fabric glue is the best option for securing a patch without a needle when the original adhesive is gone or the “re-activation” doesn’t work.
Ideal Adhesives for the Task:
- Barge All-Purpose Cement: Great for workwear or heavy-duty leather.
- Tear Mender: A fast-drying, flexible latex-based glue.
- E6000 Fabri-Fuse: This acid-free, clear-drying fabric is ideal for intricate needlework projects.
Procedure:
- Prepare the Surface: Lightly roughen the rear of the loose patch edge using a toothpick or a little brush. As a result, the adhesive has more surface area to adhere to.
- Apply Sparingly: Apply a thin, uniform layer of glue on the patch’s back using a toothpick. Don’t overapply because “squeeze-out” might discolor the fabric around it.
- Press and Hold: Apply strong pressure to the patch. For at least half an hour, apply consistent pressure to the repair using a heavy item, such as a textbook.
- Cure Time: Before the clothing may be worn or cleaned, the majority of fabric glues need a full day to cure.
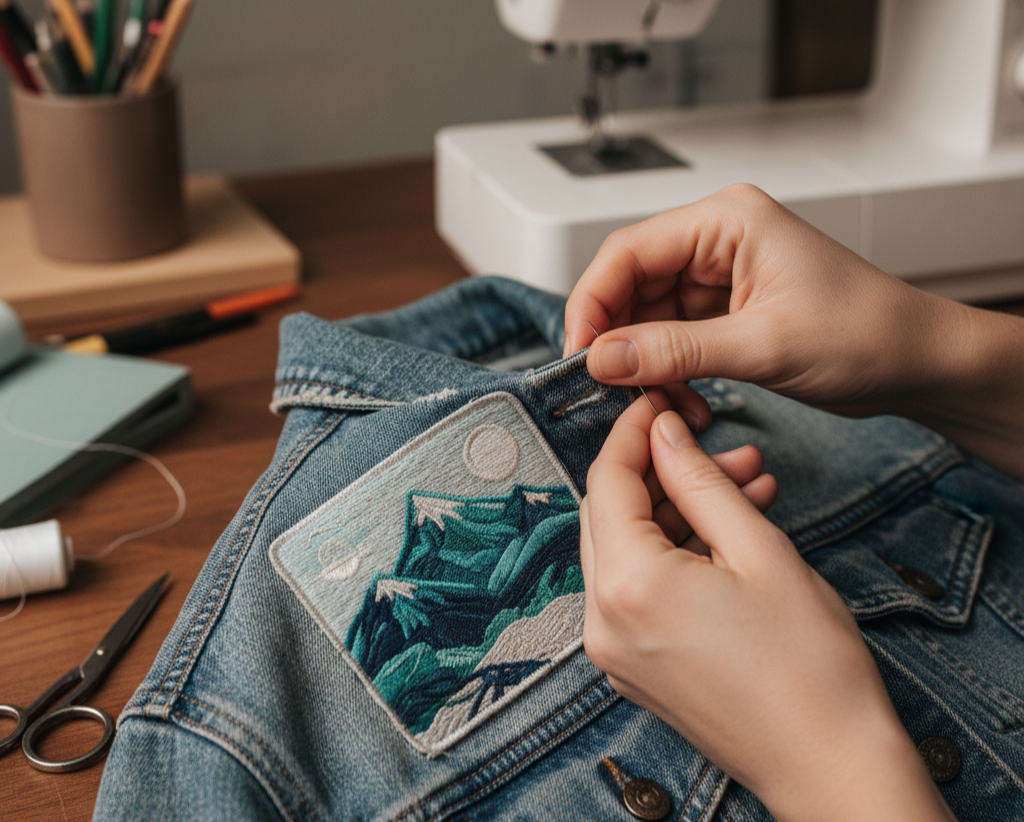
Method 3: Tactical Stitching, or the Invisible Anchor
For heavy-duty products like backpacks or tactical vests, mechanical attaching is sometimes the only option to guarantee a patch stays in place. It’s not necessary to be an expert tailor to do a “spot stitch.”
Tools Required:
- robust nylon thread that complements the patch’s border
- A sharp “leather” or “denim” needle
- To press through thick materials, use a thimble.
The Method of “Whip Stitch”:
- Keep the Knot Hidden: Begin on the inside of the clothing. Insert the needle into the cloth until it comes out exactly at the patch’s border (the merrowed edge).
- The Over-Under: Loop the thread through the fabric, over the patch’s edge, and back down.
- Maintain consistency: by making small, closely spaced stitches (approximately 2 mm apart). Your repair will be almost undetectable if you follow the orientation of the current border threads.
- Lock it Off: To stop the threadLock it Off: from unraveling, finish the inside of the garment with a double knot and a drop of clear nail paint or fray-check.
Method 4: Strips for Interfacing (For Big Lifting Areas)
A “fusible web” (such as Wonder Under or Heat and Bond) works better than liquid glue if a large chunk of the patch is loose.
Procedure:
- Cut to Shape: Slice the fusible web into a thin strip that is marginally smaller than the loose section.
- Insert: Place the strip between the cloth and the patch.
- Fuse: Iron the area according to the manufacturer’s directions. The web serves as a two-sided “glue sheet” that joins the two surfaces.
Expert Advice on Durability and Canadian Weather
Our equipment is subjected to drastic temperature swings in Canada, from chilly winters to muggy summers. Adhesives may become weaker as a result of this expansion and contraction.
For Winter Gear: Steer clear of inexpensive glues while patching a winter parka. Make use of a flexible adhesive that won’t break easily in extremely cold conditions.
For Activewear: Always use a combination of fabric glue and a few anchor stitches in the corners if the patch is on a jersey or performance wear.
Learning how to fix a loose patch without removing it can save money, preserve your garment, and extend patch life. In many cases, simple solutions like ironing, glue, or hand stitching are enough to restore a patch securely.
The key is acting early before the patch becomes fully detached. If you want durable patches that stay secure longer, trust Custom Patch Makers Canada for expertly crafted custom patches made to last.
FAQs
Is it possible to repair a loose patch without sewing?
Yes, re-ironing or fabric adhesive works great for small loose edges.
Is fabric glue long-lasting?
The majority of fabric glues are long-lasting, although after many washes, they may need to be reapplied.
Is it possible to iron-on patches more than once?
Yes, but overheating could eventually weaken the adhesive.
How can a loose patch be securely fastened?
The strongest grip is achieved by hand or machine sewing.
Where in Canada can I get long-lasting personalized patches?
Custom Patch Makers Canada offers high-quality patches for purchase at Custom Patch Makers in Canada.